
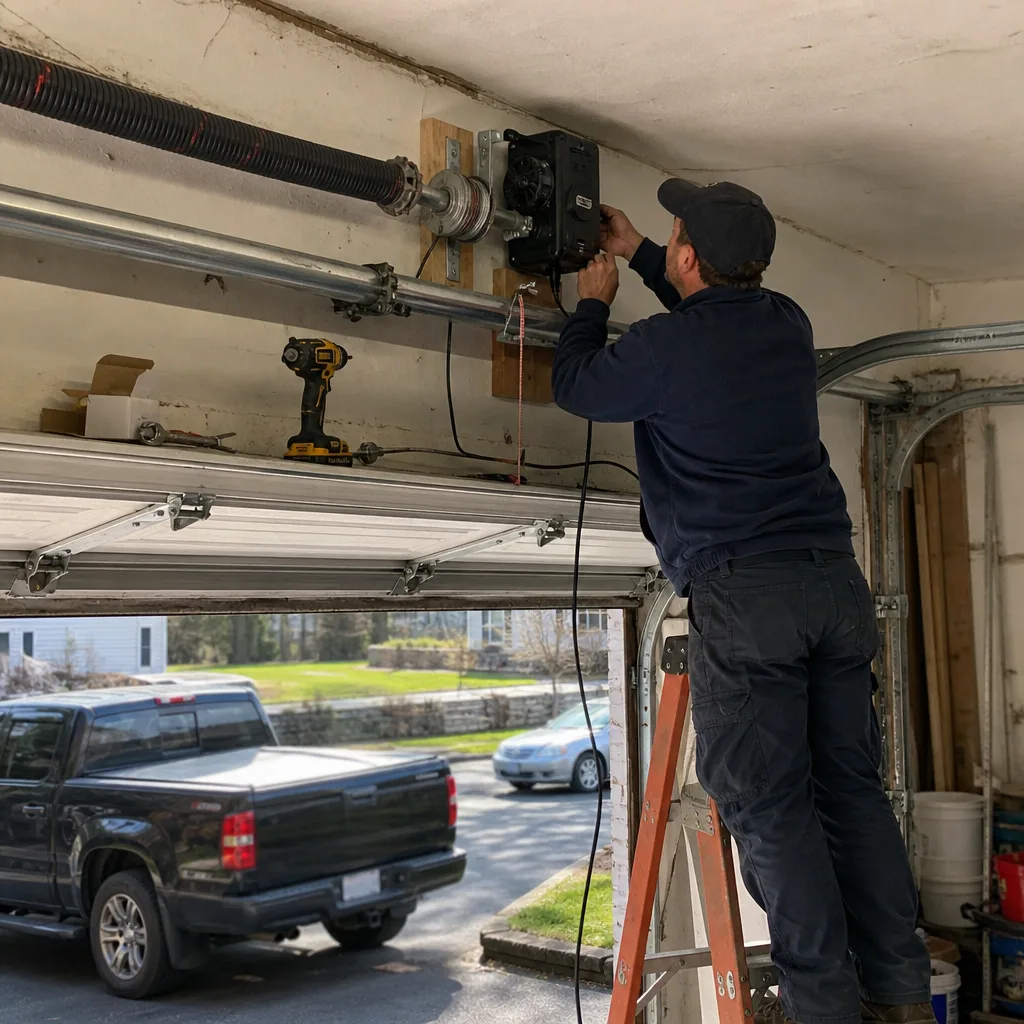
Last updated November 22, 2026
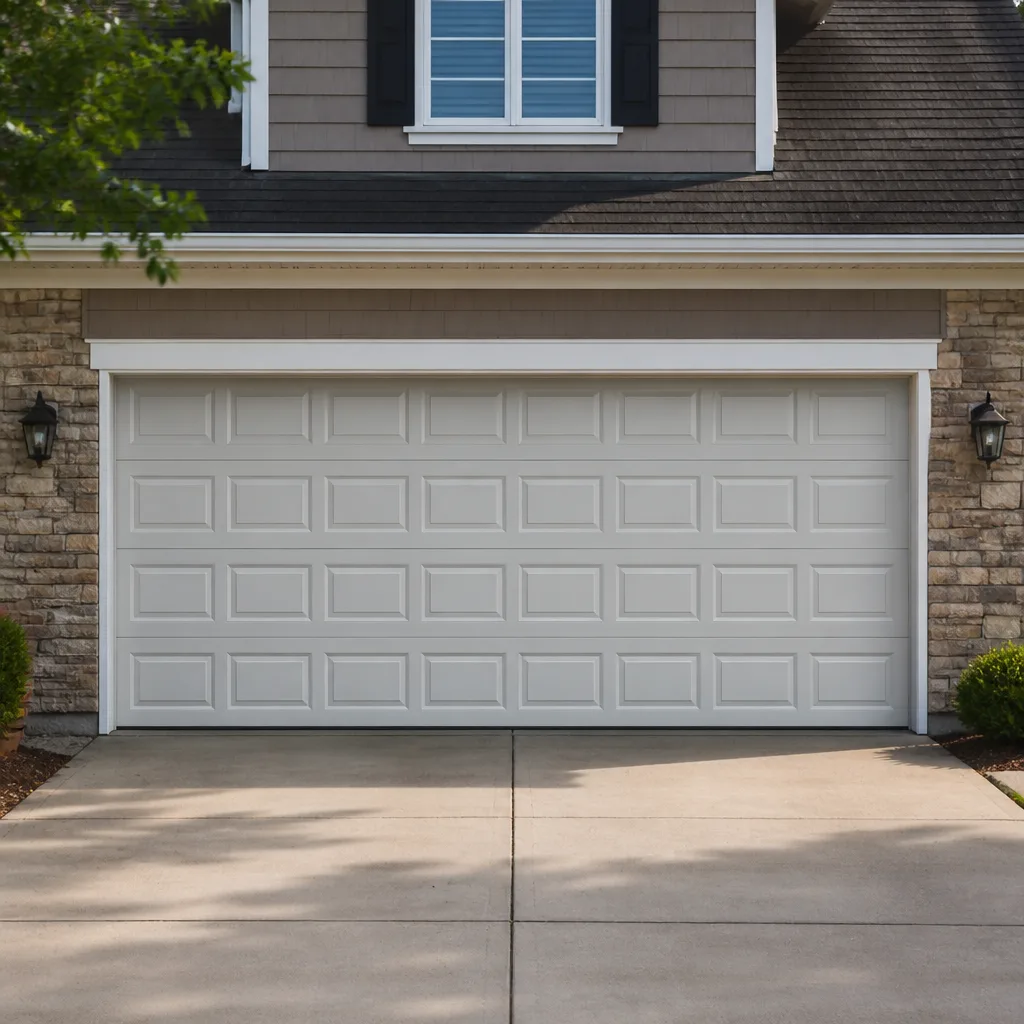 Raised-panel steel
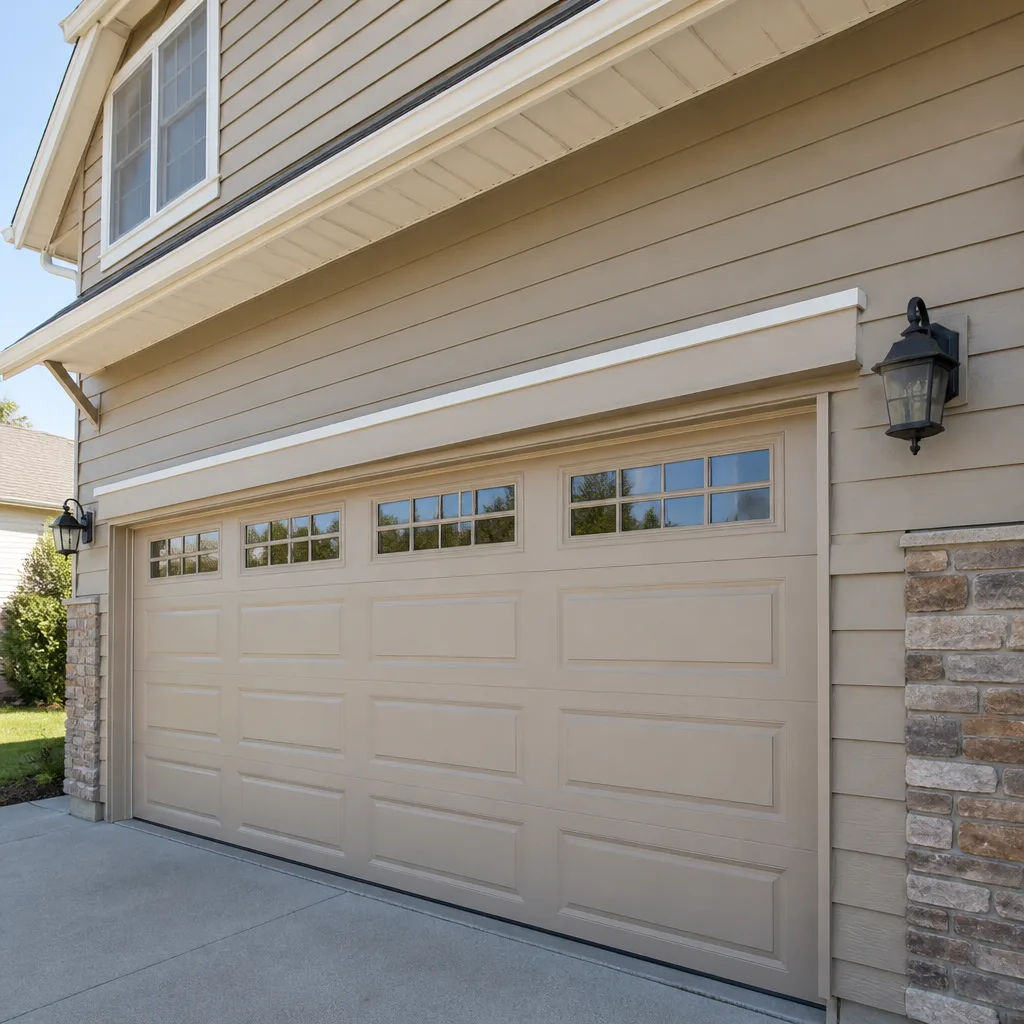
 Carriage house
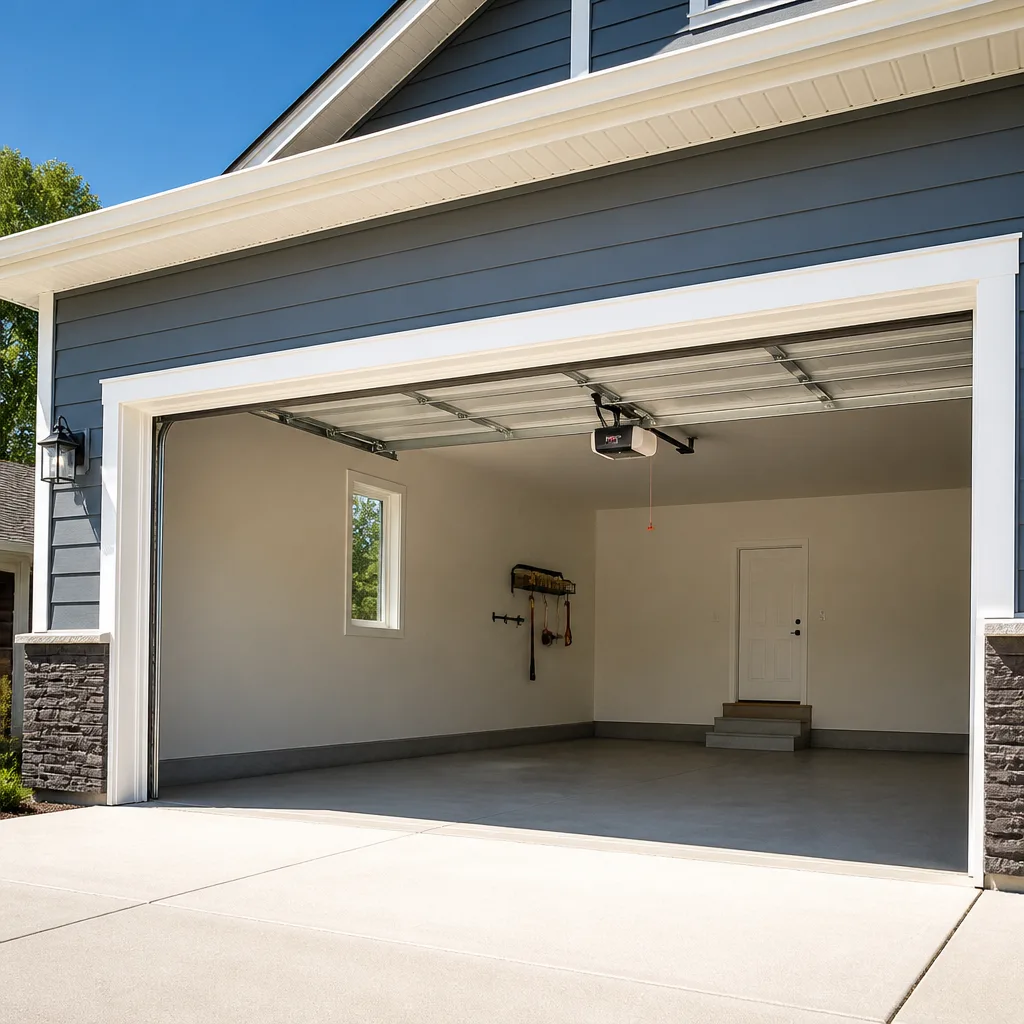
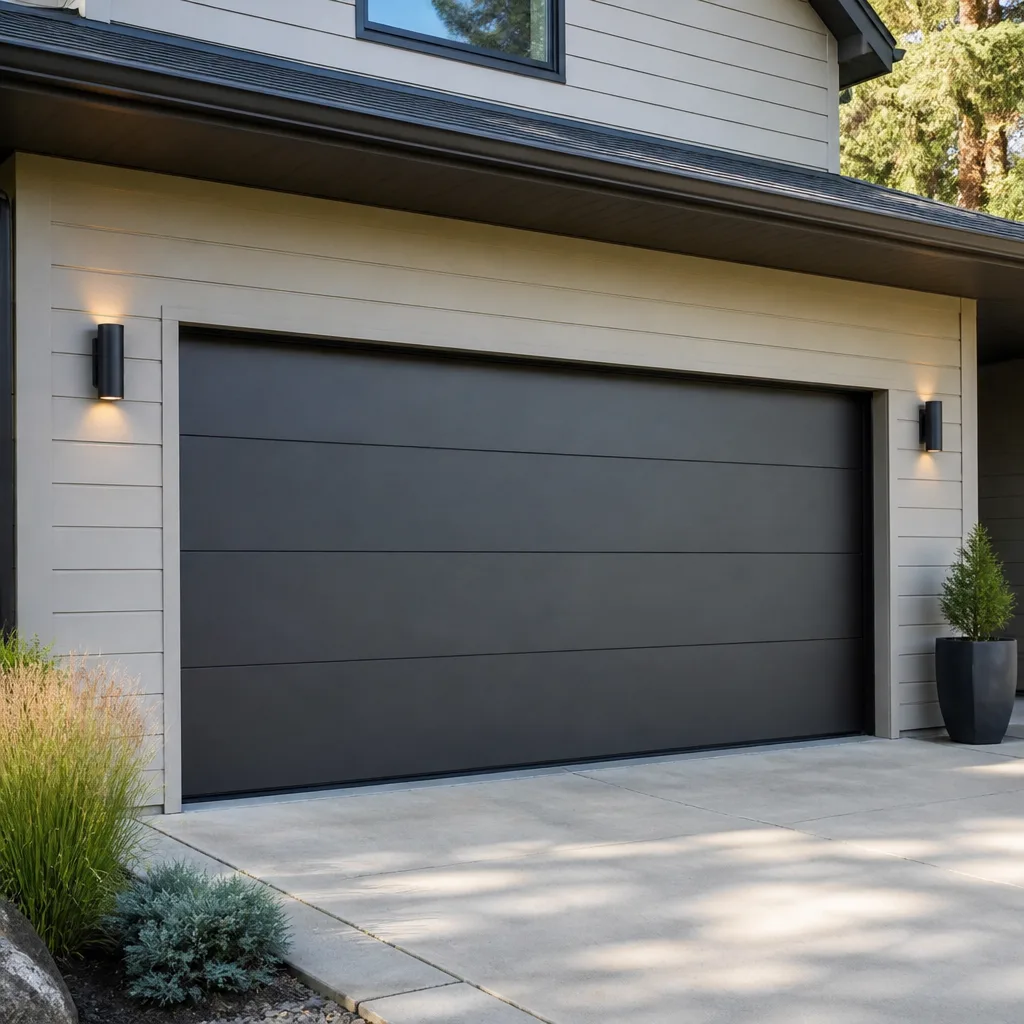 Modern flush
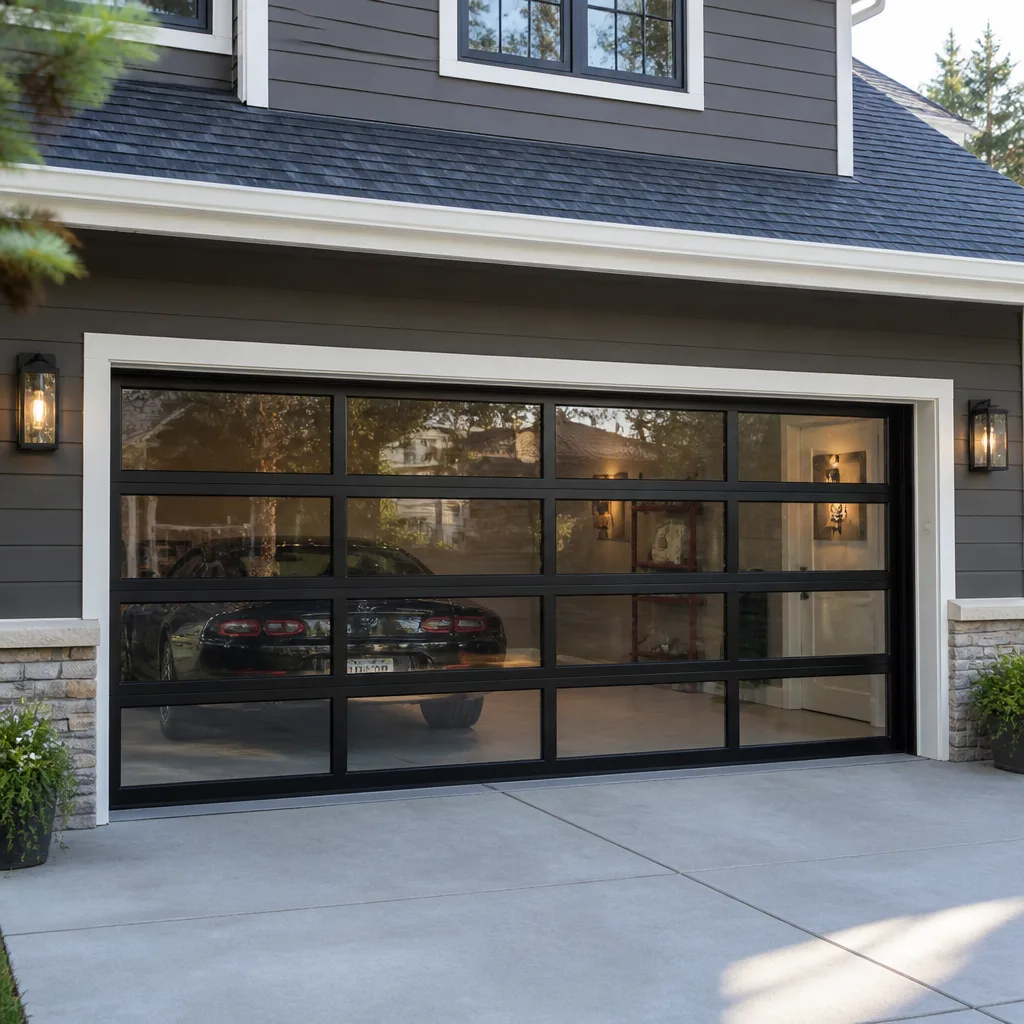 Full-view glass
 LiftMaster openers
 Chamberlain openers
Full 25-point door and opener safety check with every visit - springs, cables, rollers, tracks, and your LiftMaster or Chamberlain opener included
You get a price before we start. It does not change when the pro arrives.
Get your free estimateGarage Door Repair Maintenance Checklist for Brockton Homeowners
The most expensive garage door repairs are almost always preventable, and they almost always follow months of a small symptom that the homeowner noticed but ignored. A door that hesitates. A grinding noise that shows up one winter and fades by spring. A weather seal that’s started to tear. None of these feel urgent, so they get pushed to a mental list that never gets worked through. Then a cable snaps, a torsion spring breaks, or a panel pulls off track, and the job that would have taken fifteen minutes of attention becomes a scheduled repair.
This checklist is built around what actually fails in Brockton doors and why. Every task here has a purpose, a realistic time estimate, and a clear line between what you can safely do yourself and what needs a technician. You’ll also learn which lubricant helps, which common household spray quietly ruins components, and how to spot a failing cable weeks before it lets go.
Styles & brands we work with
- Raised-panel steel
- Carriage house
- Modern flush
- Full-view glass
- LiftMaster openers
- Chamberlain openers
Quick Answer
A safe monthly garage door maintenance checklist covers five things: listen to the door for grinding or squealing, test the balance by hand with the door disconnected from the opener, check cables and springs visually without touching them, inspect and clean the bottom weather seal, and lubricate rollers and hinges with a silicone-based spray, never with WD-40, grease, or oil. Balance, springs, and cables are inspection-only items for a homeowner. In Brockton’s freeze-thaw winters, the bottom seal and the balance check matter most, because that’s where the season does its damage first.
Table of Contents
- Why a Checklist Beats a Repair Bill
- The Five-Minute Monthly Walkaround
- Lubrication: What to Use and What Destroys Components
- Testing Balance and Spring Tension Safely
- Reading Cable Fray: The Visual Checks That Predict a Snap
- The Bottom Weather Seal: Brockton’s Best Maintenance Dollar
- Opener Checks for LiftMaster, Chamberlain, Genie, and Raynor Systems
- Seasonal Timing: What to Do Before Winter and After It
- Common Mistakes to Avoid
- When to Call a Professional
- Frequently Asked Questions
- The Bottom Line
Why a Checklist Beats a Repair Bill
A garage door is the largest moving object in most homes, and it does more cycles per year than almost anything else in the house. A family that parks two cars and comes and goes a few times a day can put the door through a thousand or more open-close cycles annually. Every one of those cycles loads the springs, runs the rollers through their tracks, and flexes the bottom seal against the floor. The wear is real and it’s cumulative.
Here’s what makes maintenance worth the effort: garage door failures are rarely sudden in the way they feel. They’re sudden in the way they announce themselves. A torsion spring doesn’t snap out of nowhere; it’s been under constant tension its whole life and gives way at the weakest point after some combination of cycles and temperature swings. A cable doesn’t break clean; it frays strand by strand over weeks. A roller doesn’t seize between one day and the next; it loses lubrication and starts dragging first.
That gap between “starting to fail” and “failed” is where a checklist lives. When you look at the right parts in the right way at the right time, you catch the slow phase and deal with it on your terms. When you don’t, the fast phase picks the moment for you.
Brockton homes sit in a climate that accelerates several of these failure patterns. Winters here bring repeated freeze-thaw cycles, which work on the bottom seal, on the metal tracks, and on the concrete the door closes against. Summer humidity swells wood door panels and works on hinges. The temperature range across a year is wide enough that a door adjusted in July can behave differently in January. A checklist tuned to that reality catches more than a generic list would.
What you’ll get from this guide is a working routine: what to look for, what each symptom means, how long each task takes, and where the line is between homeowner maintenance and a technician’s job. If at any point you’d rather hand the whole inspection to someone who does it daily, our garage door repair service covers exactly this kind of assessment. But most of what follows is something you can do yourself in the time it takes to drink a coffee.
The Five-Minute Monthly Walkaround
Most of what prevents a big repair costs five minutes a month. This walkaround doesn’t require tools beyond your eyes and ears, and it gives you the earliest possible read on the four common failure points.
- Operate the door and listen. Stand back and run it up and down once. A healthy door is quiet and steady. Grinding points to rollers, squealing to hinges or the opener’s moving parts, and a single loud pop is something to stop and inspect. About 30 seconds.
- Watch the travel. Does the door move evenly on both sides, or does one side lag? Does it shudder, or come down faster than it goes up? Uneven travel is an early sign of a spring or cable problem, not an opener problem. About 30 seconds.
- Look at the cables. From the floor, without touching, check the cables that run down each side. You’re looking for frayed strands, kinks, or a cable sitting loose rather than under tension. About one minute.
- Look at the springs. Overhead torsion spring: check for a visible gap in the coil. Side-mounted extension springs: check that the safety cables running through them are intact. Again, eyes only. About one minute.
- Eyeball the bottom seal and the tracks. Does the seal touch the floor across its width? Are the tracks straight and clear of debris, dents, or rust? About one minute.
- Check the safety reverse. Put a piece of wood flat on the floor under the door and close it. The door should reverse on contact or within a couple of inches of the object. About 30 seconds.
That’s the whole routine. Everything else on this checklist is either monthly-plus detail or a once-a-year job. If the walkaround turns up nothing, you’re done. If it turns up a symptom, the sections below tell you what it means and how fast you need to act.
Lubrication: What to Use and What Destroys Components
Lubrication is where well-meaning homeowners do the most damage. The instinct is to spray whatever’s in the garage on the moving parts, and the most common choice, WD-40 or a similar general-purpose spray, is close to the worst thing you can use. Those products are solvents and light penetrating oils. They clean and displace moisture, which is useful for a stuck bolt, but they don’t leave a durable film. On garage door hardware they strip away the factory lubricant and the part runs drier than before. Apply it monthly and you’ll accelerate the wear you were trying to prevent.
Grease and motor oil are the second mistake. They stay put on the metal but they’re tacky, so they collect grit and dust. That grit turns into an abrasive paste inside the roller bearings and on the hinge pins. Grease also gums up in cold weather, which is exactly when you need the door to move freely.
What actually works is a silicone-based lubricant or a lithium grease designed for garage door hardware. Silicone sprays dry to a thin, clean film that doesn’t attract dust and stays effective across the temperature range a Brockton winter throws at it. A dedicated garage door lithium grease is the other safe option for hinge pins and roller stems. Here’s how to apply it, task by task:
- Rollers and hinges (about ten minutes, every three to four months). Spray a light coat on each hinge pin and on the bearing of each roller. Don’t soak the parts; a short burst per hinge is plenty. Wipe off runs with a rag.
- Torsion spring (one to two minutes, two to three times a year). With the door closed and the spring at rest, a light spray along the coil helps reduce friction between the coils. Never reach into or near a spring that’s under tension.
- Track curves (about two minutes). A thin film of silicone on the curved section at the top of each track helps the rollers negotiate the bend without dragging. Don’t lubricate the straight track; the rollers are meant to roll, not slide.
- Opener rail and chain or belt (about five minutes, once a year). A dry lubricant on a chain-driven opener rail; on belt-driven openers, clean the belt and leave it alone unless the manual specifies otherwise.
- Never lubricate the springs on an extension-spring door while they’re stretched, never lubricate the opener’s motor or electronics, and never spray anything into the opener’s control box.
Total time for a full lubrication pass is about fifteen minutes. It’s the single highest-value task on the checklist because it extends the life of every moving part and, in the case of the rollers, keeps the door running quietly enough that you’ll hear a problem early.
Testing Balance and Spring Tension Safely
The balance test tells you whether your springs are doing their job. A well-balanced door should feel almost weightless through most of its travel, because the springs are carrying the door’s weight. If the door feels heavy, drops, or won’t stay put when you let go, the springs are tired or failing, and that’s a technician’s job. The good news is that the test itself is completely safe if you do it the right way, because you never touch the springs to run it.
Here’s how to test balance without going near the spring:
- Close the door and pull the opener’s release cord so the door is disconnected from the opener. The door should now move by hand.
- Raise the door to about waist height and stop. Let go. A balanced door should stay roughly where you leave it, give or take a few inches.
- Raise it to shoulder height and let go again. Same expectation: it holds.
- If the door slams down or drops fast, stop. Don’t test further and don’t use the door. A door that falls under its own weight is a door with a spring problem that will get worse, and the door can come down on a person or a car.
- Reconnect the opener and run the door once to confirm the reconnect took. Then back away and leave it be.
You test the door’s balance, not the spring’s tension. You cannot safely check a torsion spring’s wind count by hand, and you shouldn’t try. A torsion spring on a standard residential door is under hundreds of pounds of stored force. The winding bars and the technique for adjusting that tension are tools for a trained technician. In our experience, the balance test catches more failing springs early than any visual inspection, because it shows you how the spring is behaving without you ever having to judge its condition from the outside.
One more note for Brockton winters: a door that feels slightly stiff in January and fine in July is telling you something about the cold. Springs lose some of their responsiveness in low temperatures, and a spring that’s already near the end of its life can behave noticeably worse on a cold morning. If the balance test passes in summer and fails in winter, that’s your warning. Have the springs inspected before the next cold snap. For a dedicated look at that system, our garage door spring repair service is the right call.
Reading Cable Fray: The Visual Checks That Predict a Snap
Cable failure is the most predictable and most preventable of the big garage door failures. The cables run under high tension, and they don’t snap in one instant; they fray strand by strand, usually over weeks, sometimes over months. If you look at them regularly you’ll see the fray long before it becomes a break. If you don’t, the first sign is a door hanging crooked.
The good news is that this inspection is entirely visual, takes about a minute, and never requires you to touch a cable. Here’s what to look for, in order of how alarming each sign is:
- A single frayed strand or a fuzzy patch near the drum at the top of the door or near the bottom bracket. This is the earliest warning. Schedule an inspection.
- Multiple frayed strands bunched together, or a cable that’s clearly thinner in one section. This is the late warning. Stop using the door and get a technician out.
- A cable that’s kinked, twisted, or sitting loose rather than running taut along its path. A loose cable can mean the spring has failed, the door is off balance, or the cable has jumped its drum. Don’t operate the door.
- Rust staining or brown residue on or near the drum. It can indicate the cable has been rubbing and wearing down its protective coating.
- A visibly bent or damaged bottom bracket where the cable attaches. This is a hard stop; a failed bottom bracket under tension can send hardware across the garage.
What makes the cable check worth doing monthly rather than annually is how quickly the failure window can close. A cable in the early-fray stage might last another six months or fail next week, and there’s no way to tell from the outside. Caught early, a cable replacement is a routine job. Caught late, you can be looking at a door that’s dropped on one side, a bent track, and a much bigger repair. We work on all the brands common in Brockton homes, including Raynor and LiftMaster doors with their factory cable configurations, so the fix matches the original equipment rather than a generic replacement.
One thing not to do: never reach under a door that’s hanging crooked or moving unevenly, and never try to push a cable back into its drum. Both put you in the path of parts under tension.
The Bottom Weather Seal: Brockton’s Best Maintenance Dollar
If we had to name one maintenance item that delivers the most value per dollar in a Brockton garage, it’s the bottom weather seal. It’s also the cheapest part on the door. It’s the rubber or vinyl strip attached to the bottom section of the door, and it does four jobs at once: it keeps rain out, it keeps snow or blowing moisture from sitting under the door, it stops mice and small pests, and it closes the gap that would otherwise let heat out of an attached garage all winter.
It’s also the item Brockton’s freeze-thaw winters punish first. A seal that touches the concrete floor across its full width in October can be brittle and cracked by February. A gap of a quarter inch at one corner lets in cold air and, if the garage shares a wall with the house, that cold finds its way indoors. Once the seal is torn or flattened, it stops doing its jobs and starts letting water freeze under the door’s path. That freeze is what eventually warps the door’s bottom section or rusts the bottom bracket.
Inspecting it takes under two minutes:
- Look at the seal from outside, with the door closed, along its full width. Look for tears, cracks, missing chunks, or sections crushed flat.
- Check the floor contact across the width. If you can see daylight or slide a coin under the seal at any point, it isn’t sealing.
- Run a hand along the inside face of the seal at the bottom corner. Any soft spots, splits, or separation from the door panel are failures.
- Look at the concrete strip directly under the seal. Water staining, cracks, or raised spots mean the floor and seal aren’t meeting properly and may point to a door adjustment.
Replacement is an easy job and the seal itself is inexpensive, which is why it’s the maintenance item with the best return. If you can see a problem, don’t wait for spring. A failed seal sitting on wet concrete through a Brockton winter turns a part-and-a-half job into a bottom-section replacement.
Opener Checks for LiftMaster, Chamberlain, Genie, and Raynor Systems
The opener is the part most homeowners blame first and understand least. In practice, most “opener problems” are actually door problems: a dragging roller, a stiff hinge, or a tired spring makes the opener work harder than it should, and eventually the opener’s safety systems cut in or its gears wear. The right order of operations is to check the door before you check the opener.
When the door itself is running freely, the opener checks are simple and mostly visual:
- Listen to it running with the door disconnected. Pull the release cord, then run just the opener. A smooth motor with no door attached should be quiet. Groaning or grinding here points at the opener’s gears or the rail. On a chain-drive LiftMaster or Chamberlain, a chain that’s too tight or too loose will sound different; a belt-drive of the same brands should be nearly silent.
- Test the safety reverse monthly. The piece-of-wood test from the walkaround checks the opener’s force and travel settings at once. If the door doesn’t reverse on contact, the opener’s force setting is too high and needs adjustment before the door can be used safely.
- Test the safety sensors. Break the beam with your hand while the door is closing; it should reverse immediately. If one sensor’s LED is flickering or off, wipe the lens and check the alignment. Misaligned sensors account for a large share of “my door won’t close” calls.
- Check the wall control and remotes. A remote that works intermittently often has a dying battery or a light on the same frequency. A wall control that won’t respond may have a pinched wire where the door meets the frame.
- Know your system’s quirks. Genie openers have their own travel-limit adjustment method and their own error codes; so do LiftMaster and Chamberlain models with MyQ. Raynor’s system is often a rebranded unit with its own control layout. Working from your model’s actual manual beats guessing.
This is where brand familiarity genuinely helps. We work on LiftMaster, Chamberlain, Genie, and Raynor systems specifically, because the diagnostic method for each is different and a generic checklist misses what the manufacturer built into that model. If your opener is doing something you can’t place, our garage door opener repair service starts with identifying the unit, not guessing at it.
Seasonal Timing: What to Do Before Winter and After It
Brockton’s climate splits the maintenance year into two natural checkpoints. The late-fall pass is the important one, because almost everything that fails in a garage door over winter failed because something wasn’t ready for the cold. The early-spring pass catches what the winter did.
The late-fall pass (about 45 minutes to an hour, ideally before the first hard freeze):
- Do the full five-minute walkaround and fix anything it turns up.
- Do a full lubrication pass with silicone or lithium lubricant.
- Run the balance test and note the result. If the door fails now, you have time to schedule the repair on your terms rather than in a cold snap.
- Inspect the bottom seal closely and replace it if there’s any doubt. This is the single most important pre-winter item.
- Check the door’s weather stripping along the sides and top, if it has it, since gaps there let cold air in too.
- Clear the concrete strip under the door of debris, leaves, and anything that would trap water and freeze.
- Test the safety reverse and the sensors before the winter cold makes adjustment work unpleasant.
The early-spring pass (about 20 minutes):
- Walkaround first, with attention to the bottom seal and the concrete strip. Freeze-thaw damage shows up here first.
- Check the cables and the tracks for any sign of rust or displacement caused by winter moisture.
- Run the balance test again. If the door passed in fall and fails now, suspect the springs and have them looked at before summer.
- Lubricate again, since winter tends to strip film off the moving parts.
- Check the opener’s chain or belt tension, since the cold can cause slight changes.
- Test the safety reverse, since force and travel settings sometimes need a small adjustment after a cold season.
Outside those two passes, the monthly five-minute walkaround is enough. If your door fails during a cold snap and you’re in Brockton, that’s a case for our emergency service rather than the spring checklist; Garage Door Repair Brockton Pros handles broken springs, off-track doors, and opener failures that leave the home unsecured.
Common Mistakes to Avoid
- Spraying WD-40 or penetrating oil on the moving parts. It strips the factory lubricant and accelerates wear. Use a silicone-based lubricant or a dedicated garage door lithium grease.
- Using grease or motor oil on the rollers and hinges. Grease collects grit and turns into an abrasive paste. In Brockton’s cold it gums up exactly when the door needs to move freely.
- Testing the balance with the door still connected to the opener. The opener’s mechanism masks the true balance of the door, and a door that fails the test can drop. Pull the release cord first and reconnect it after.
- Reaching over or under a door that’s hanging crooked. A door with a broken spring or a slipped cable is unpredictable. Call a technician; don’t try to coax it.
- Ignoring a bottom seal that’s flattened or torn through winter. The seal is the cheapest part on the door and the one that protects the expensive parts. Replacing it promptly is the highest-return maintenance task in a Brockton home.
- Adjusting the opener’s force setting to compensate for a door that’s dragging. Increasing force masks a door problem and disables the safety system’s sensitivity. Fix the door, don’t overwhelm it.
- Running the door after the balance test fails. A door that drops under its own weight is telling you its springs are failing. Every cycle after that is a chance for the failure to happen at the worst possible moment.
When to Call a Professional
The right line between homeowner maintenance and a technician’s job comes down to two things: stored tension and weight. Anything involving a torsion spring, a cable under tension, or an adjustment that changes the door’s balance belongs to a trained professional. So does anything involving the door hanging crooked, a bottom bracket that’s bent or cracked, or an opener that’s behaving in a way you can’t identify from its manual. Those are the situations where the risk of working on it yourself, or of delay, is real.
The rest is yours. The monthly walkaround, the lubrication, the bottom seal inspection, the safety reverse test, and the balance test are all safe and all worth doing. In our experience, homeowners who do those five things catch the majority of developing problems while they’re still small. Our technicians have up to 14 years of experience on residential doors, and we work on the systems that are actually in Brockton garages: LiftMaster, Chamberlain, Genie, Clopay, Amarr, Wayne Dalton, Craftsman, and Raynor. If a checklist item turns into something you’d rather hand off, call (833) 508-9262. We answer 24/7, dispatch runs from 7am to 7pm Sunday through Friday, and estimates are free.
Frequently Asked Questions
Lubricate rollers and hinges every three to four months and the torsion spring two to three times a year, using a silicone-based spray or a garage door lithium grease. Never use WD-40, grease, or motor oil, because they strip the factory lubricant or collect grit. A full pass takes about fifteen minutes. If your door is squealing, call (833) 508-9262 for an inspection; estimates are free.
No. Torsion springs are under hundreds of pounds of stored tension, and adjusting them requires specific tools and training. A spring under load can cause serious injury if it slips. Test the door’s balance by hand with the door disconnected from the opener, and leave the springs to a technician. Call (833) 508-9262 to schedule a spring inspection.
The bottom weather seal and the springs take the most winter damage. Freeze-thaw cycles crack and flatten the seal, and cold temperatures make springs less responsive, so a worn spring fails more readily. Checking the seal every month and running the balance test before the first freeze catches most of it. Call (833) 508-9262 if the door fails the balance test.
Look for a single frayed strand or fuzzy patch near the drum at the top of the door or the bottom bracket, and stop using the door if you see multiple frayed strands, a kink, a loose cable, or a bent bottom bracket. This is a visual check only; never touch a cable under tension. Call (833) 508-9262 and we’ll take a look before it fails.
The safety reverse sensors are usually misaligned, dirty, or blocked, or the opener’s travel limits need adjustment. Start by wiping both sensor lenses and checking alignment; a flickering LED is the tell. If the door still reverses, the opener needs a diagnostic. Call (833) 508-9262 for an opener check; estimates are free.
The monthly walkaround, lubrication, and balance test are the same for every brand. The differences show up in the safety reverse test, travel limits, and error codes, which vary by model. Working from your model’s manual matters, and we work on LiftMaster, Chamberlain, Genie, and Raynor systems specifically. Call (833) 508-9262 if you’re not sure what your opener needs.
The Bottom Line
A garage door maintenance checklist works because it catches failure in the slow phase. Five minutes a month for the walkaround, fifteen for lubrication a few times a year, two for the bottom seal, and an honest balance test get you most of the protection. The parts to leave alone are the springs and the cables, which are inspect-only for a homeowner and a technician’s job to touch. In Brockton, the season you plan around is winter: get the seal and the balance checked before the first freeze, and check them again once it’s over. If any single item turns into something bigger, that’s what we’re here for. From a broken spring to a brand-new door, we handle the full range of garage door repair in Brockton, and the estimate is free. Call (833) 508-9262. We answer 24/7, with fast dispatch from 7am to 7pm, Sunday through Friday.
Written by the team at Garage Door Repair Brockton Pros.
See the difference
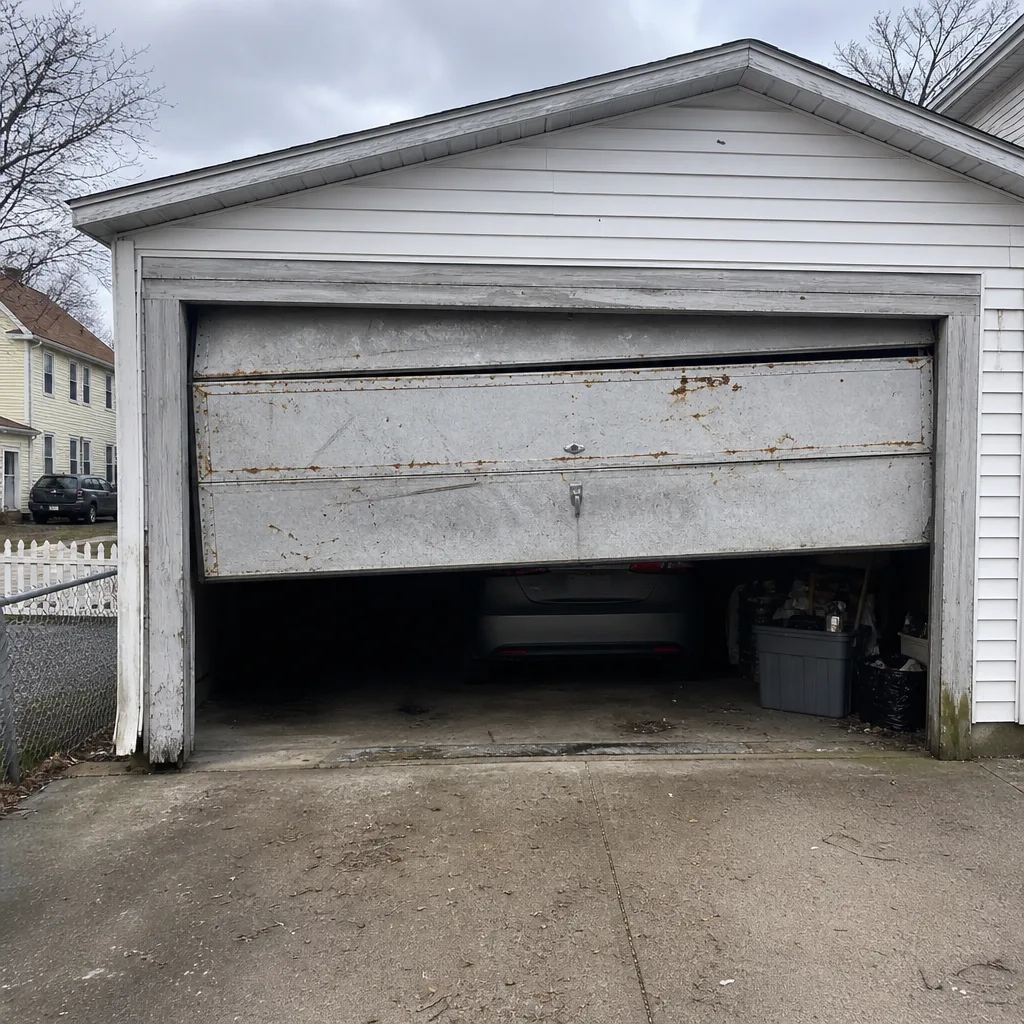 Before
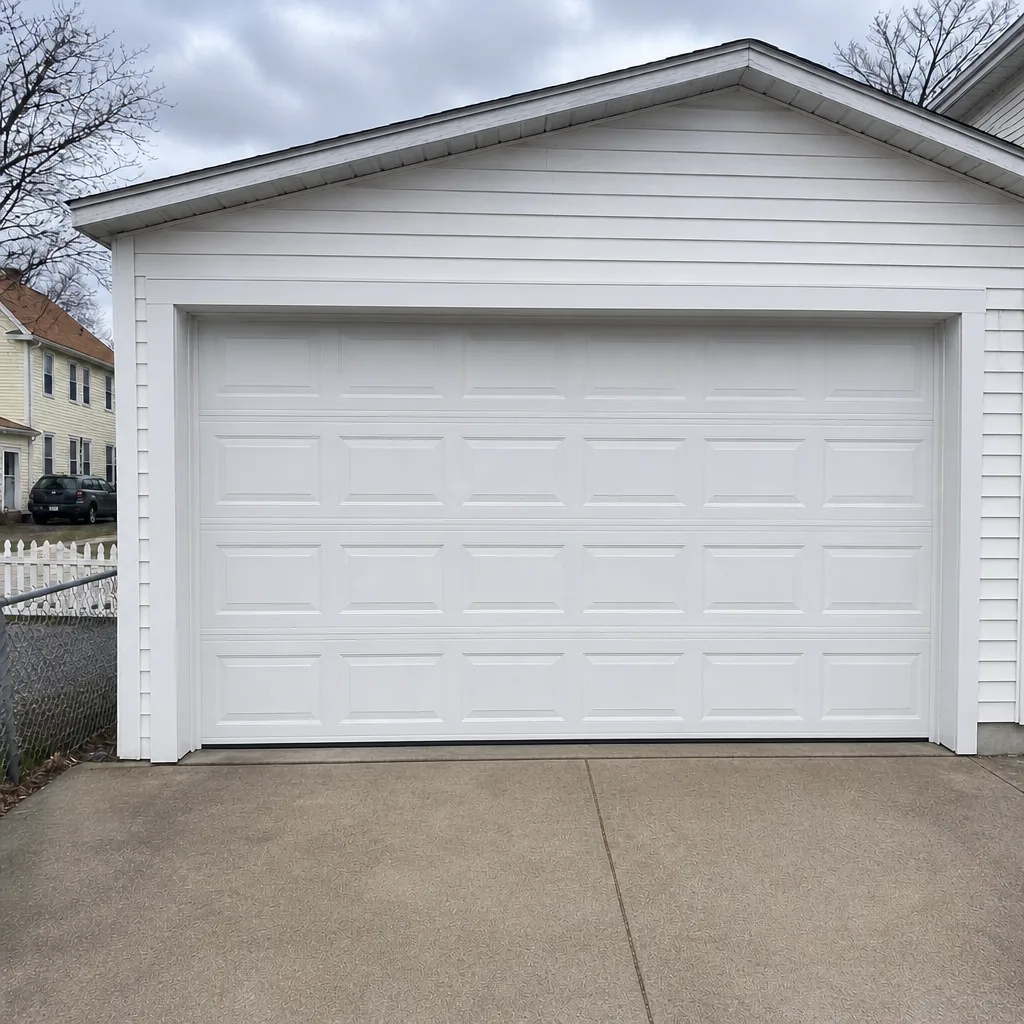 After
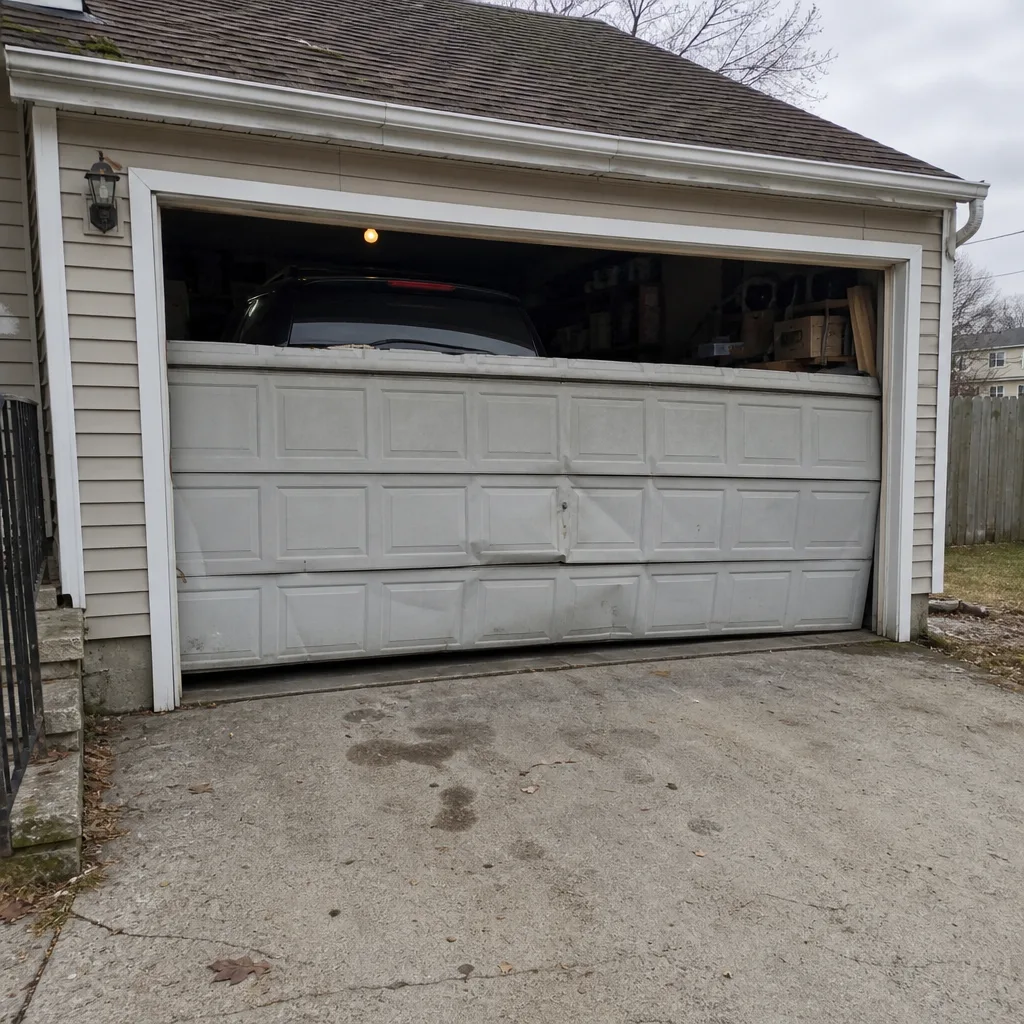 Before
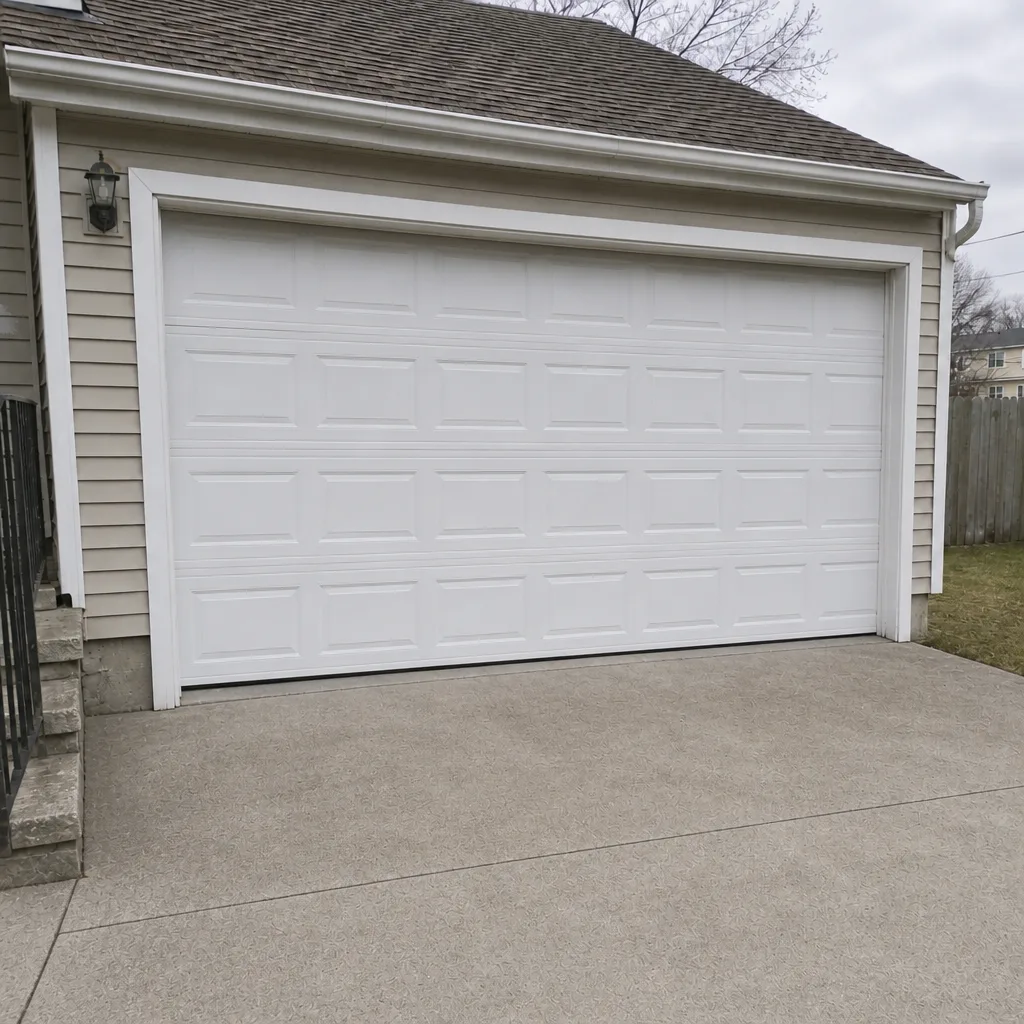 After
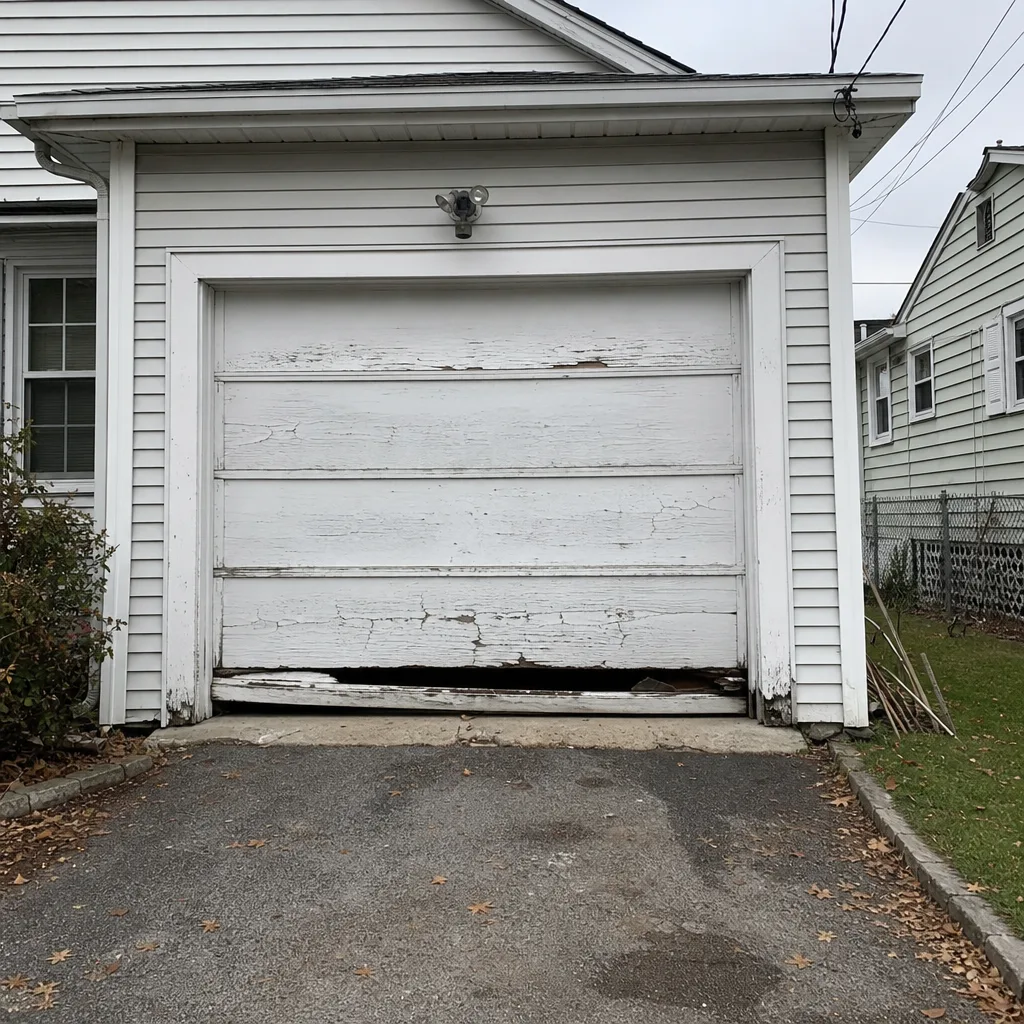 Before
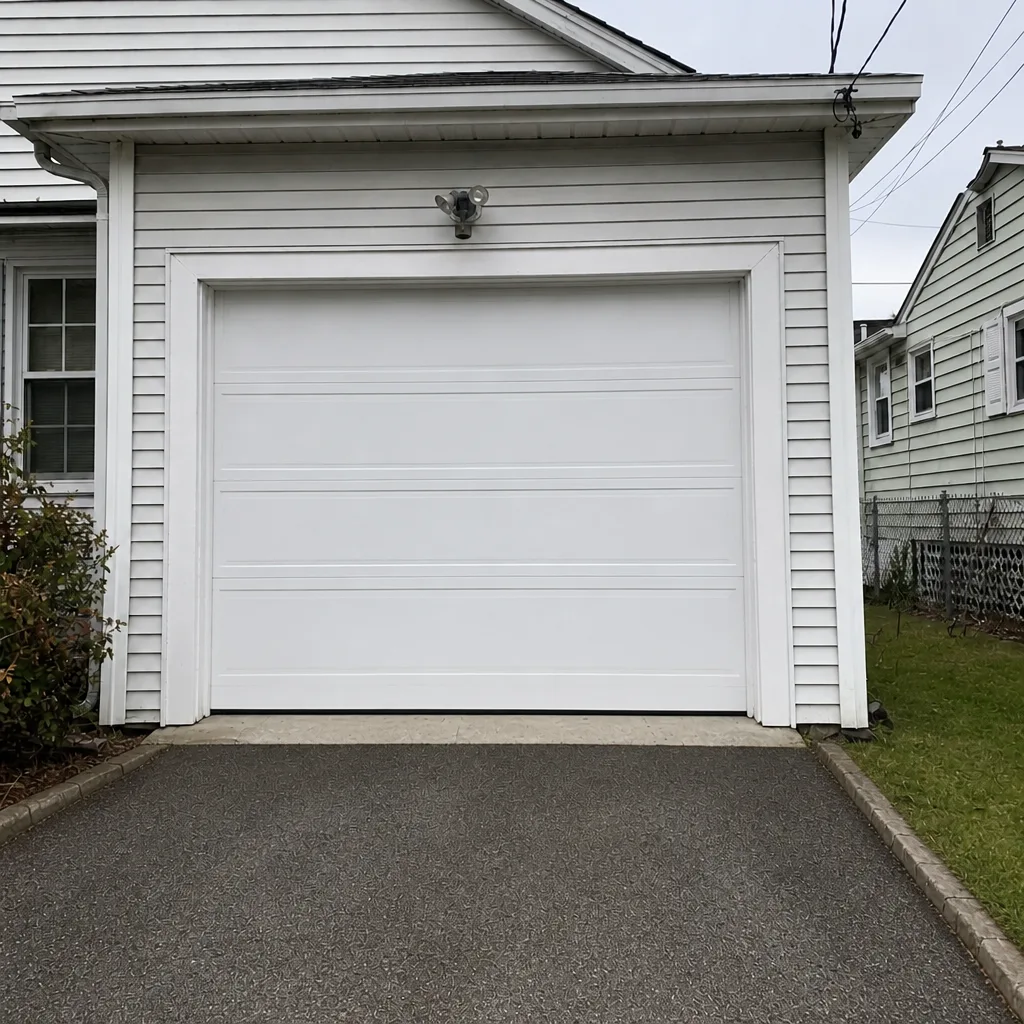 After